Parklardan Bağımsız Yanan Sis Lambaları

Oluşturan:
MuRDoC_111,
in
Mazda 3 [Teknik] Elektrik-Teknoloji-Kabin İçi
-
-
Yeni Mesajlar & Konular
-
-
Seçtiklerimiz
-

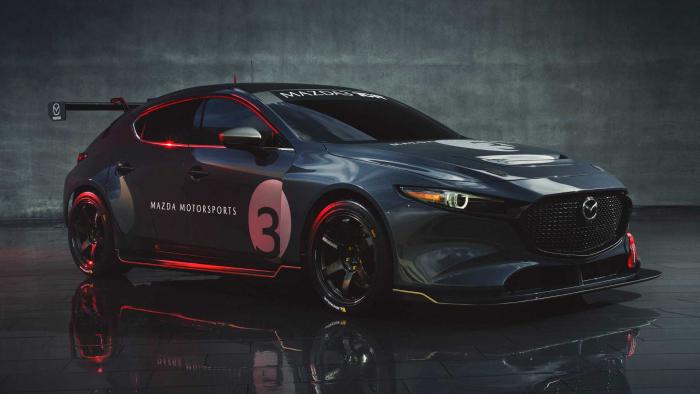
Mazda 3 TCR
İlhan Mazda Haberleri bölümünde bir haber ekledi,
Japon otomobil üreticisi Mazda'nın, Mazda3 adlı hatchback modelinin yeni jenerasyonunda performanslı özel bir versiyonun gelip gelmeyeceği çok konuşuldu. Bugün böyle bir versiyon geldi, fakat tam anlamıyla beklenen araç bu değildi. Çünkü söylentilere konu olan performanslı Mazda3, bir yarış otomobili değil de trafiğe çıkabilen hızlı bir hatchback şeklindeydi.-
-
- 7 yanıt
-
-
Yeni Mazda 3 Los Angeles Otomobil Fuar'ında Tanıtıldı
Canuck Mazda Haberleri bölümünde bir haber ekledi,
Motor secenekleri 1.5, 2, 2.5 lt benzin ve 1.8 lt turbo dizel. Muhtemelen Avrupa pazarina 1.5 lt ve 1.8 dizel gelecek. Onemli bir yenilik, ilk defa AWD modeli mevcut olacak. Turkiye'ye gelir mi emin degilim. Yeni Skyactive-X motor ise 2019 da satisa cikiyor.
Resimler de Hatchback'teki gri rengin ismi "Polymetal" grisi imis bu arada-
-
- 163 yanıt
-
-
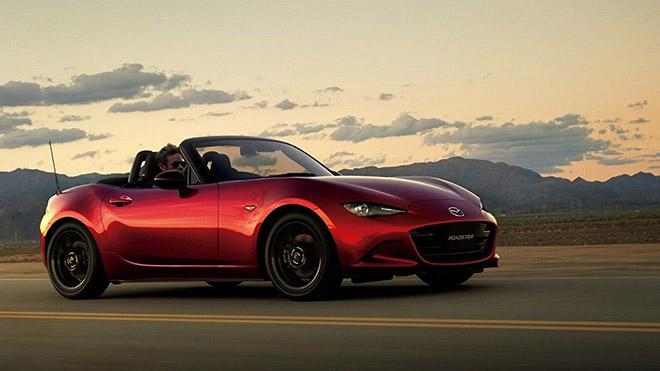
Mazda MX-5 Mekanik Parça Değişiklikleriye Hissedilir Derecede Fark Yaratacak
İlhan Mazda Haberleri bölümünde bir haber ekledi,
Kısa süre içerisinde Japonya satışları başlayacak olan 2019 Mazda Miata MX-5, altyapı olarak gözle görülür değişim barındırıyor.-
-
- 22 yanıt
-
-


Tavsiye Edilen Mesajlar